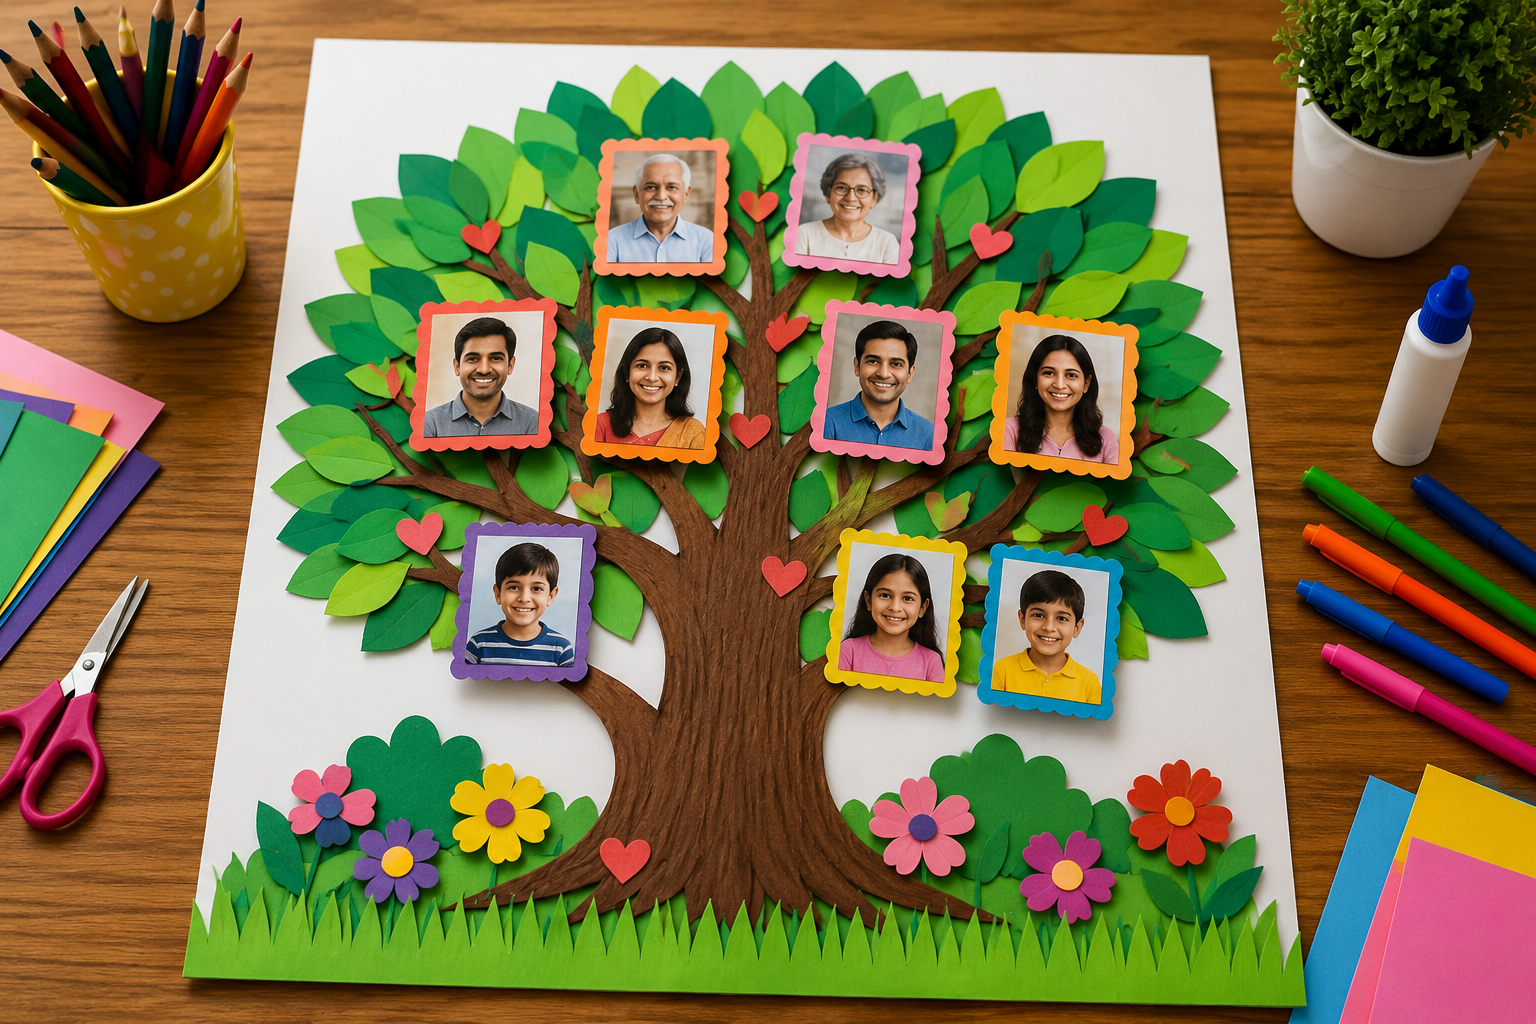
A family tree doesn’t have to be a boring poster filled with names and lines. Turn it into a colorful tree, a family house, a puzzle, a map, or even a 3D display!
Whether you’re making the project for a school assignment or helping your child create something special, these 15 family tree project ideas are easy, fun, and perfect for showing off in the classroom.
How to Choose the Right Family Tree Project
Before you start cutting paper or collecting photographs, think about what kind of project will be easiest for you to make.
Younger children may enjoy projects where they can draw, paint, or use their hands. A handprint tree or paper-leaf tree is a great choice for preschool and early primary school.
Older students may want something that tells more of a story. A family timeline, map, photo display, or digital slideshow can make the project more interesting while also showing what they have learned about their family.
If you have only a few hours, choose a simple poster design. If you have several days, you can try something more detailed, such as a pop-up book, family mobile, or 3D box.
Most importantly, check your teacher’s instructions first. If the assignment asks for three generations, make sure your project includes them even if you choose a different design.
1. Classic Tree With Paper Leaves
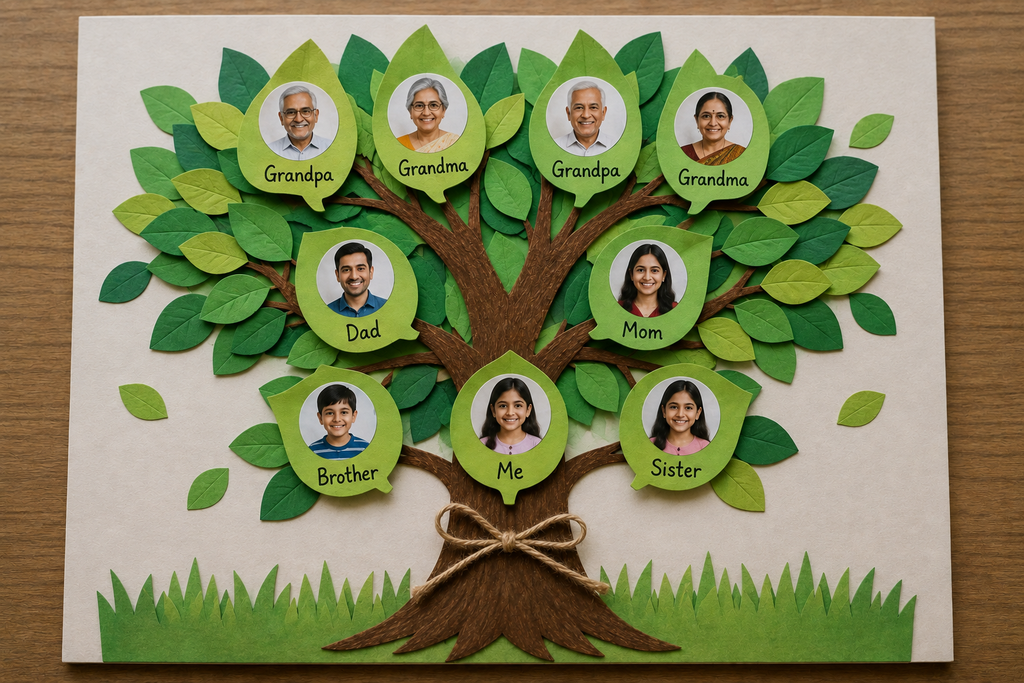
Let’s start with the idea that probably comes to mind when you hear the words “family tree.”
Draw a large tree on a piece of poster board. Give it a strong trunk and plenty of branches. Then cut leaves from colored paper and write the name of one family member on each leaf.
Place the leaves on the branches according to the family relationships. You can put grandparents higher up, parents in the middle, and children closer to the bottom.
This project is simple, but that doesn’t mean it has to look boring.
Use different shades of green for the leaves, add colorful flowers around the tree, or give each generation its own color. You can even add tiny birds, butterflies, apples, or other decorations.
For younger children, tracing their hands on paper and turning the hand shapes into leaves can make the tree even more personal.
2. Turn Your Family Into a House
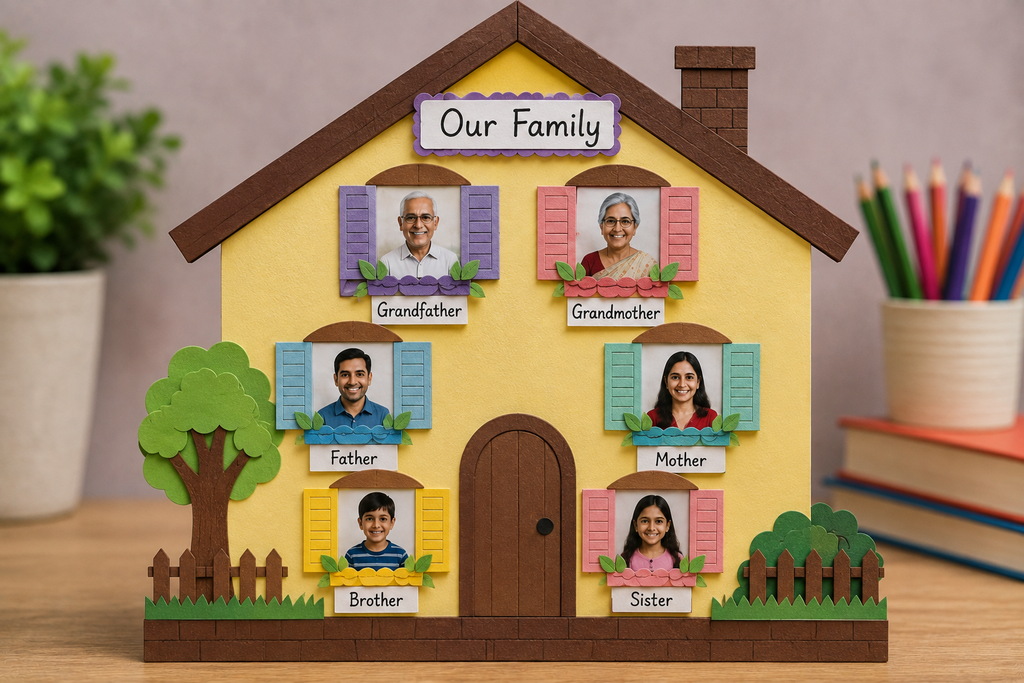
Imagine your family living together in one big house.
Instead of drawing a tree, draw a large house with different rooms. Put a family member in each room and write their name and relationship underneath.
You could put parents in the living room, siblings in a bedroom, and grandparents upstairs. If your family tree includes aunts, uncles, or cousins, give them their own rooms or sections of the house.
The fun part is decorating the rooms.
If someone loves cooking, draw food in their kitchen. If someone loves football, put a football on their wall. If someone enjoys gardening, add flowers outside their room.
By the time you’re finished, your family tree will look more like a tiny family home than a school chart.
3. Handprint or Footprint Tree
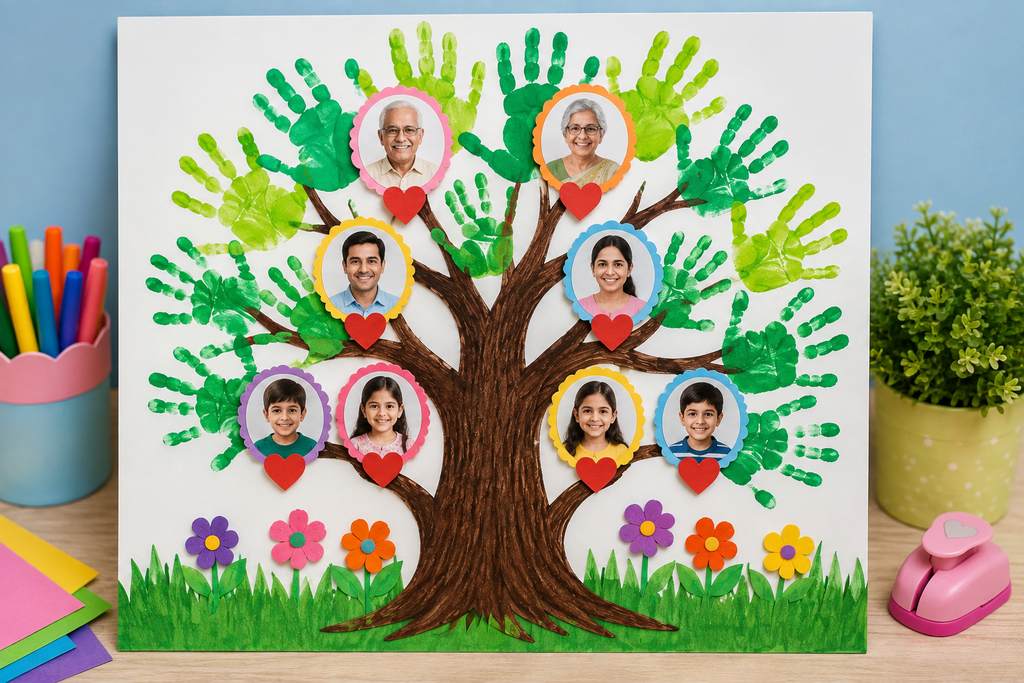
This is a great project for younger children because they get to make part of the artwork themselves.
Draw a tree trunk on paper and use painted handprints to create the branches and leaves. Each handprint can represent a family member.
If you don’t want to use paint, trace everyone’s hands on colored paper, cut them out, and glue them around the tree.
You can even use footprints for a funny twist.
Write the person’s name and relationship near each handprint or footprint. If several family members are willing to participate, ask them to add their own handprint to the project.
The finished artwork can become something the family keeps long after the school assignment is finished.
4. Make a Photo Family Tree
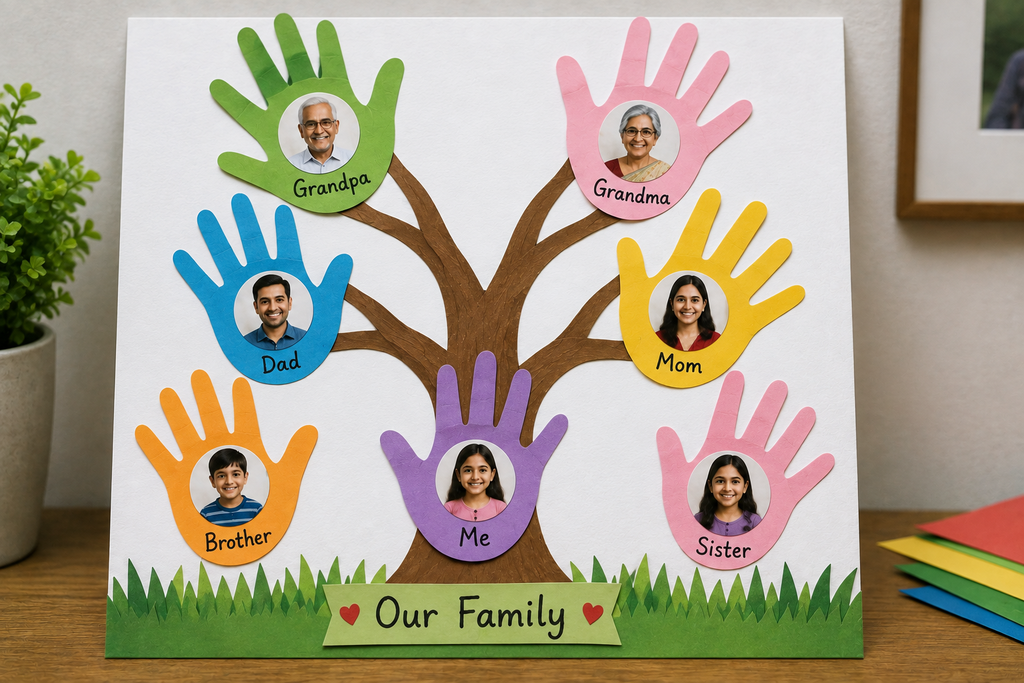
Pictures can make a family tree much easier and more fun to explore.
Instead of writing only names, use small photographs of your family members. Create a large tree shape and place a photograph on each branch or leaf.
Under each photograph, write the person’s name and their relationship to you.
You can also add one small fact about each person.
For example:
- Grandma — loves gardening
- Dad — enjoys cooking
- Brother — plays football
- Aunt — loves traveling
Don’t worry if you don’t have photographs of everyone. You can use drawings, initials, or small symbols for family members who don’t have a picture available.
A combination of photographs and drawings can look great when the design is kept consistent.
5. Family Tree in a Jar or Box
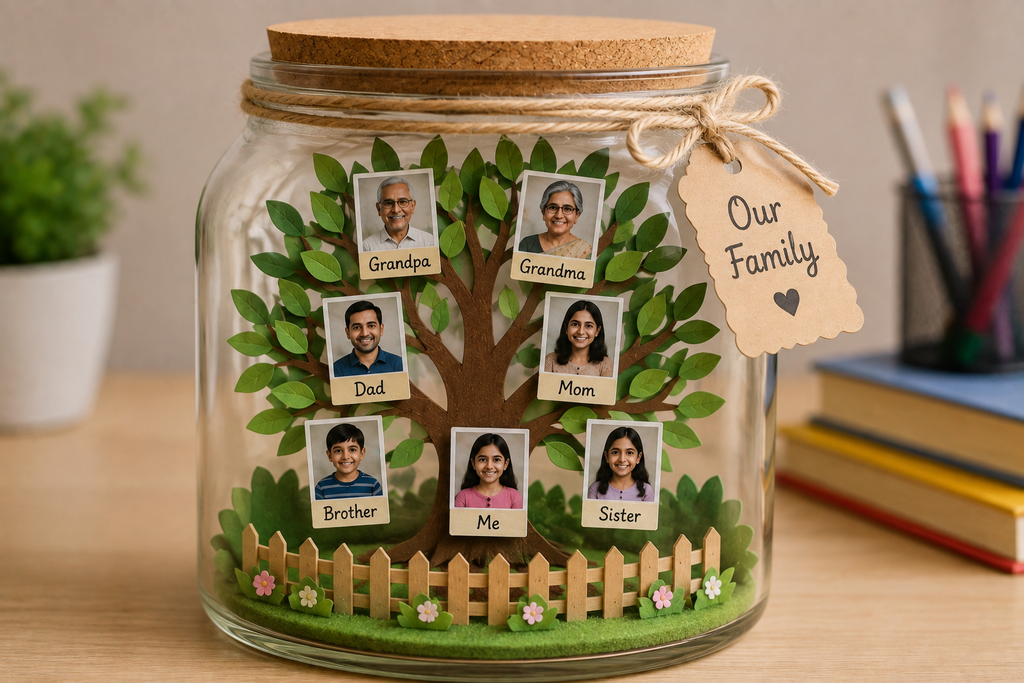
Want your project to jump off the poster board?
Make it three-dimensional.
Find a clean glass jar, small box, or shoebox. Create paper tags with the names of family members and attach them to pieces of string.
Hang the tags inside the jar so they appear at different levels.
For a box version, make a small tree from cardboard and place it inside the box. Add photographs or name cards to the branches.
You can decorate the outside of the box with family photographs, drawings, stickers, or patterns.
A 3D project like this can be especially fun because your classmates can look at it from different angles.
6. Puzzle Piece Family Tree
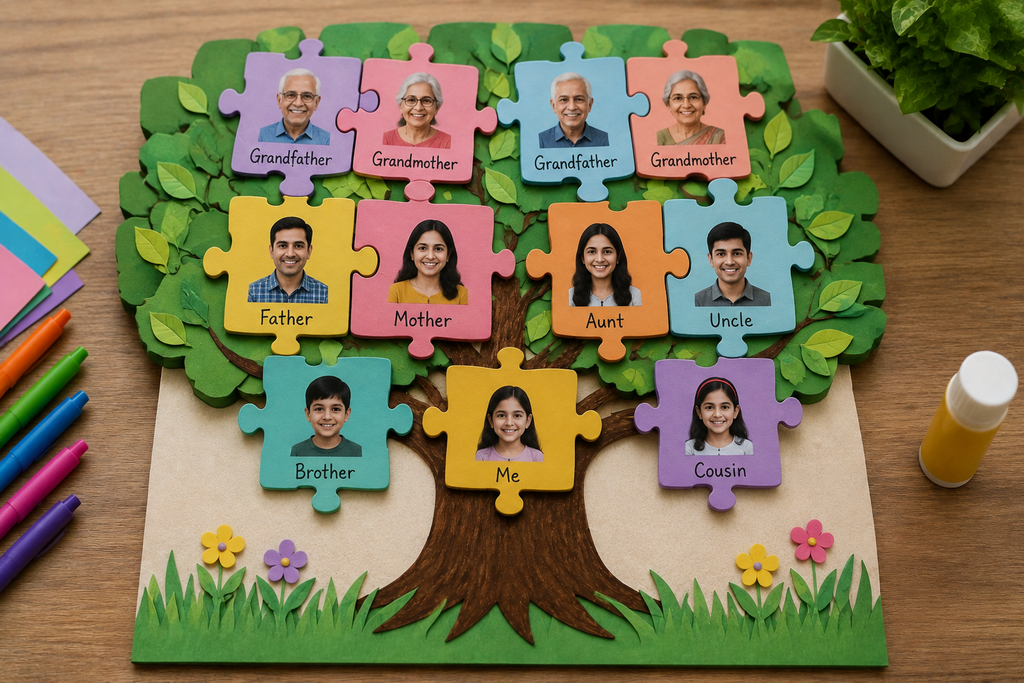
What if every member of your family were a puzzle piece?
For this project, cut a large jigsaw puzzle out of cardboard or use blank puzzle pieces if you have them. Write one family member’s name on each piece.
Arrange the pieces so that the generations and relationships are easy to understand.
You can decorate every piece differently. Add a photograph, favorite color, hobby, or small drawing to represent each person.
The puzzle also gives you a great idea to explain during your presentation: every person is an important piece of the family, and the pieces come together to make one bigger picture.
7. String and Pin Family Tree
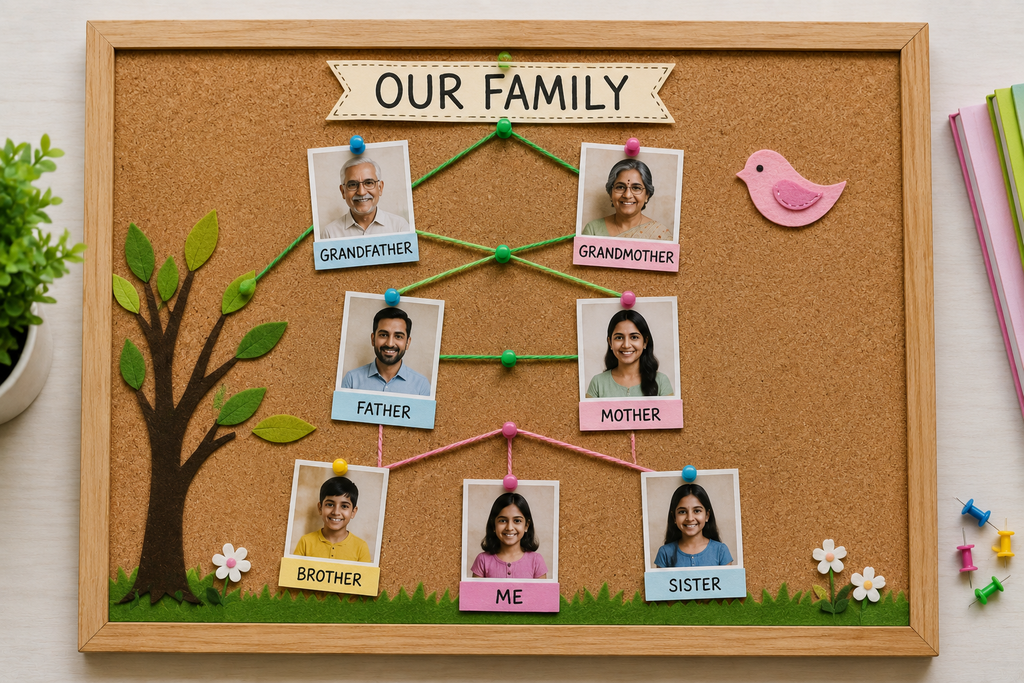
This one is perfect for students who want their project to look completely different from a normal family tree.
Use a large piece of cardboard or a corkboard as your background. Create small cards for each family member and attach photographs or drawings to them.
Then connect the cards using pieces of string.
You can use different colors of string for different family relationships. Keep the generations organized so that your classmates can follow the connections easily.
The finished board can have a fun investigation-board appearance, but remember that the family relationships should remain clear.
Add dates, locations, small facts, and photographs if you want to give the project more detail.
8. Turn the Family Tree Into a Timeline
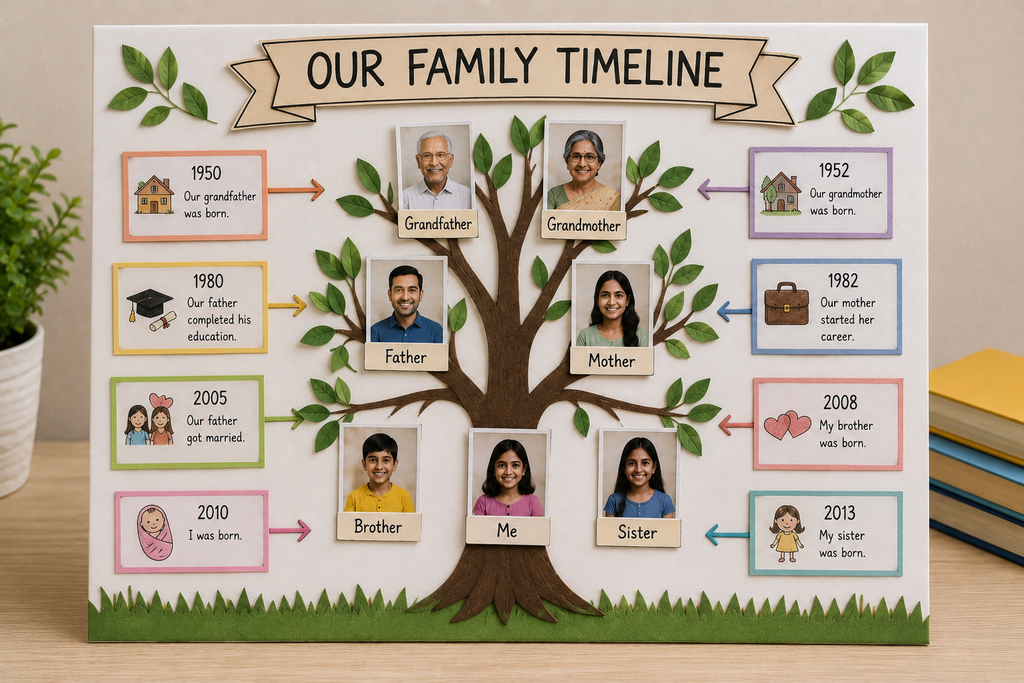
A family tree doesn’t always have to grow upward like a tree.
Create a long timeline across a poster board and place family members along it according to their birth years or generations.
You could begin with grandparents, move to parents, and finish with yourself and your siblings.
If your teacher allows it, add important events to the timeline too. You could include where family members were born, where they lived, or when the family moved to a new city or country.
This idea is especially good for older students because it connects family history with the history they are learning at school.
9. Family Recipe Tree
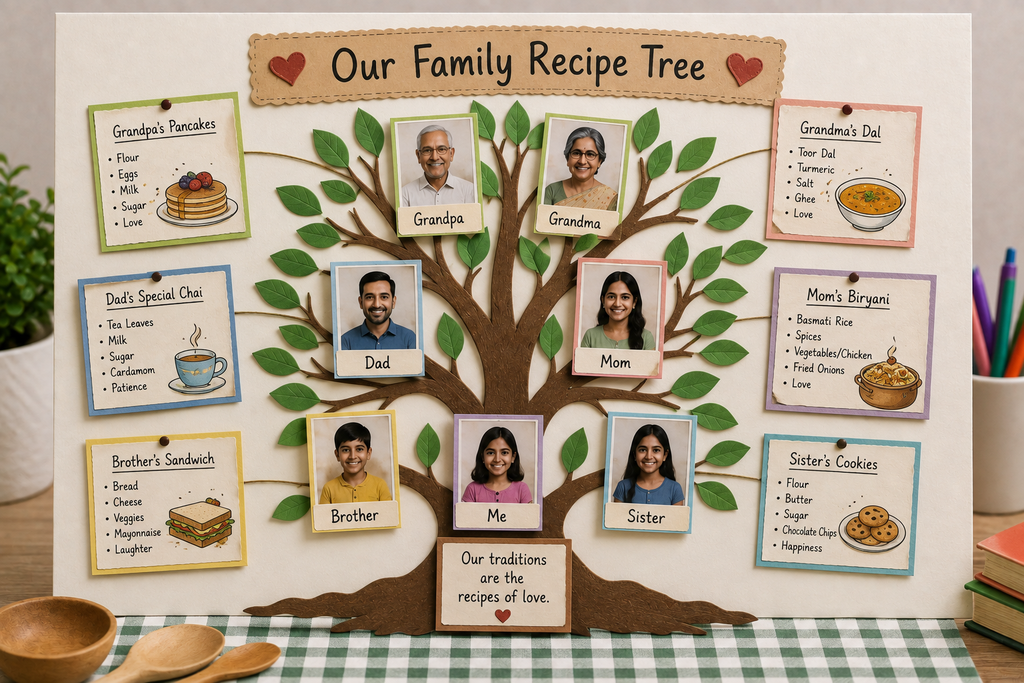
Does your family have a special food that everyone loves?
Turn that tradition into part of your family tree.
Create small recipe cards for different family members. Write the person’s name and relationship at the top, then add a favorite dish, dessert, or family recipe underneath.
For example, one card could feature Grandma’s favorite dessert while another could show Dad’s favorite meal.
Arrange the cards in the shape of a tree or another family-tree design.
You don’t need to include a complete recipe for every person. Even a favorite food and one sentence about why the family likes it can make the project more interesting.
This is also a great choice if your school assignment is connected to family traditions or culture.
10. Build a Family Tree on a Map
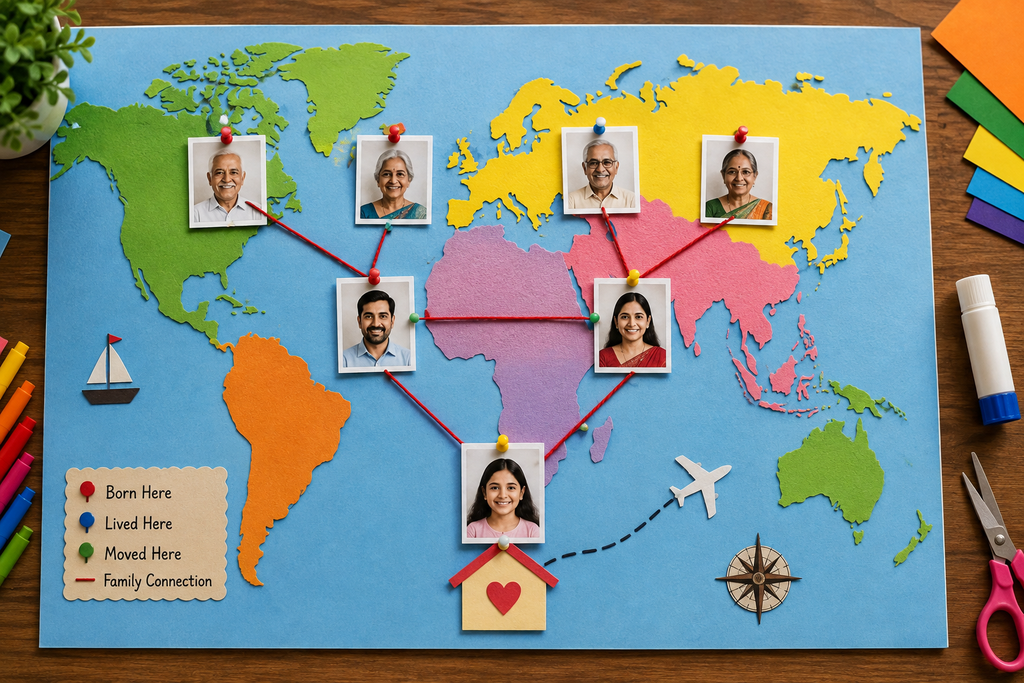
Does your family have relatives who were born or raised in different places?
Then a map could become the perfect background for your project.
Start with a map of your country or a world map. Add photographs or name cards for family members and connect them to the places where they were born or lived.
Use string, arrows, or dotted lines to connect each person to their location.
You can include information such as:
- Name
- Relationship
- Birthplace
- Where they lived
- Country or state
This project can teach your classmates something about your family while also showing how people can move from one place to another over different generations.
11. Pop-Up Family Tree Book
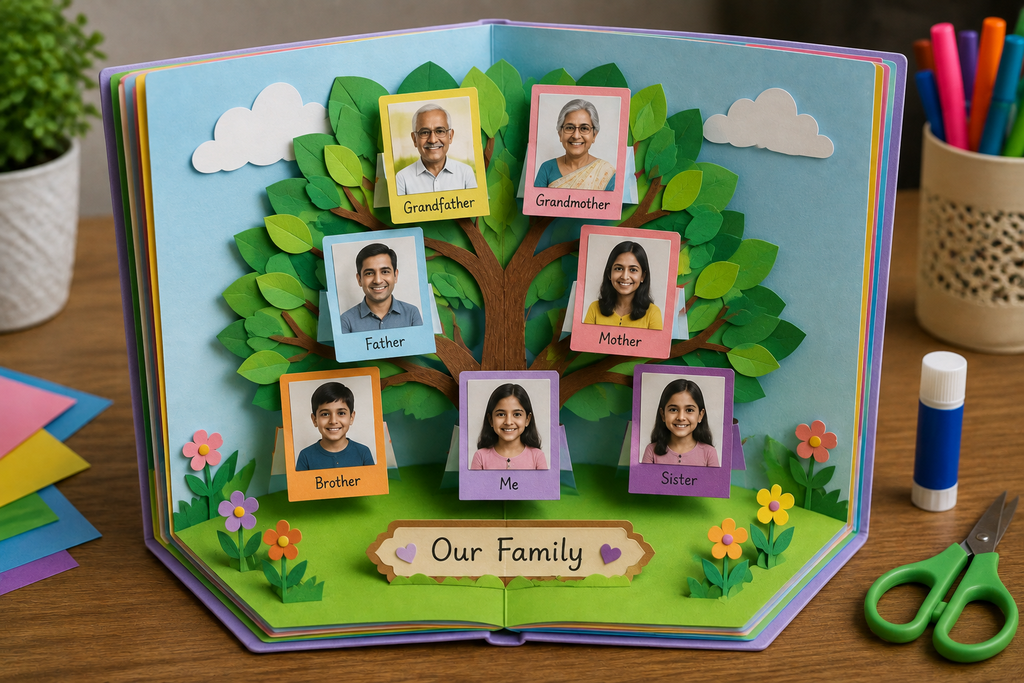
If you love making things with paper, try turning your family tree into a pop-up book.
Fold several sheets of thick paper together to create pages. Each page can represent a different generation or part of your family.
When you open a page, a branch, photograph, house, or other part of the family tree can pop forward.
You could organize the book like this:
- Page 1: Introduction to your family
- Page 2: Parents and siblings
- Page 3: Grandparents
- Page 4: Other relatives
- Page 5: Family traditions or special memories
Add photographs, drawings, and short facts throughout the book.
This takes a little more time than making a poster, but the result can be something you are proud to show during your presentation.
12. Hang Your Family Tree as a Mobile
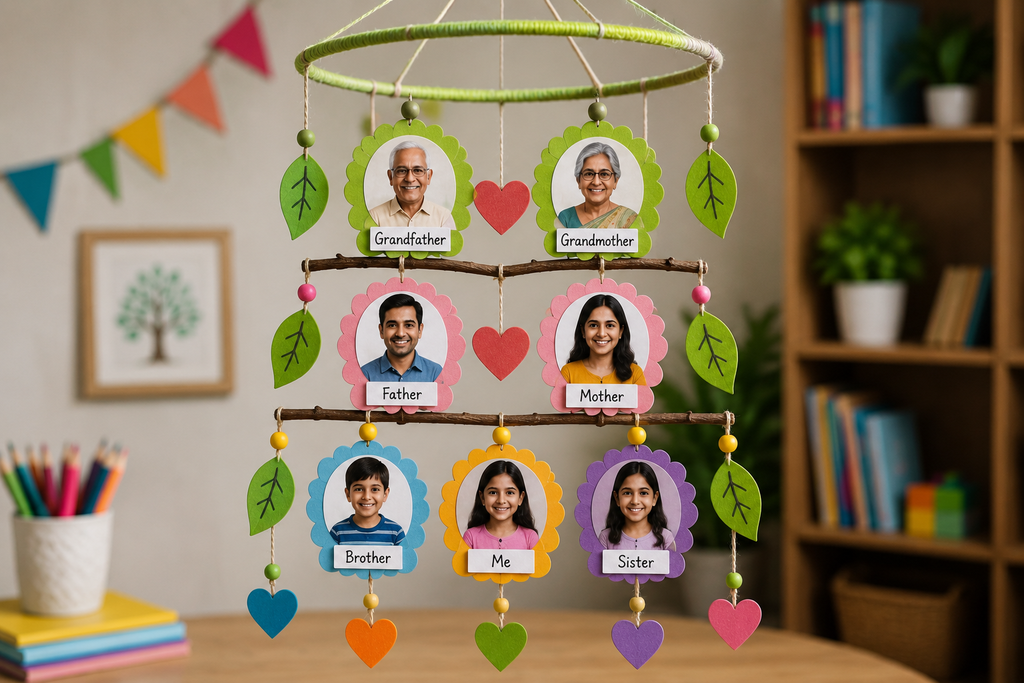
Here’s another idea that doesn’t need to stay flat.
Create a family tree mobile that can hang from a safe frame, wooden stick, embroidery hoop, or similar craft base.
Cut out leaves, circles, stars, or other shapes and write the names of family members on them. Attach the pieces with string and arrange them by generation.
You can also add small photographs.
Try using different shapes for different generations. For example, grandparents could be leaves, parents could be flowers, and children could be smaller leaves.
Just make sure the mobile isn’t too heavy and that it can be safely displayed in the classroom.
13. Create a Digital Family Tree Slideshow
Not every school project needs scissors and glue.
If your teacher allows digital projects, you can create a family tree slideshow using presentation software.
Start with a title slide and then create slides for different family members or generations.
Each slide could include:
- A photograph
- Name
- Relationship
- One interesting fact
- Birthplace or other information required by the assignment
You could also finish with a slide about a family tradition, favorite holiday, or special memory.
Keep the design simple. Large photographs and easy-to-read text usually work better than filling every slide with decorations.
If your teacher wants a physical display, you can print the slides and turn them into a poster or booklet.
14. Make a Family Tree Quilt
Imagine putting your whole family together like pieces of a colorful quilt.
For this project, create one paper square for each family member. Put their name and photograph on the square, or draw something that represents them.
One person might have a football on their square. Another might have flowers. Someone else might have a favorite animal or food.
When all the squares are finished, arrange them into a large grid to create a paper quilt.
Try to keep every square the same size so the finished project looks neat.
This idea is especially interesting for assignments about family heritage, culture, or traditions because you can use patterns and drawings inspired by things that are meaningful to your family.
15. Fingerprint Family Tree
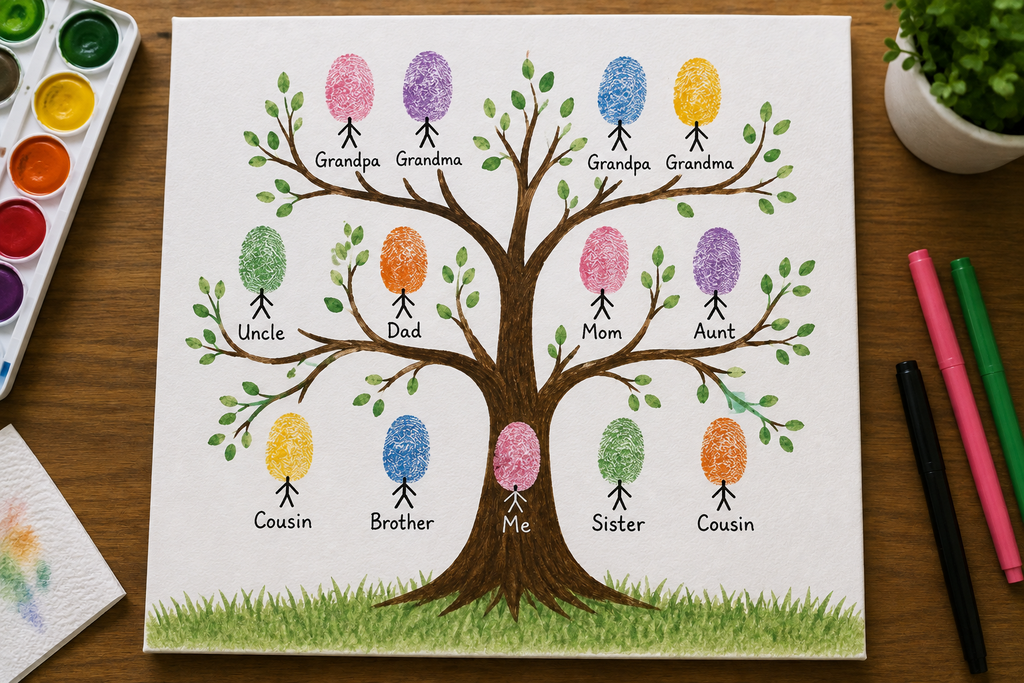
If you like the handprint idea but want something smaller and simpler, try fingerprints.
Draw a large tree trunk and branches on poster board. Instead of using paper leaves, create tiny leaves using fingerprints.
You can use different colors for different generations or let each family member choose their own color.
Write each person’s name next to their part of the tree.
If your family is available, ask everyone to add a fingerprint to the project. This turns a simple school assignment into a little family activity.
For relatives who cannot participate, you can use a drawn fingerprint, photograph, or name card instead.
Common Mistakes to Avoid
A family tree can be colorful and interesting while still becoming confusing if the important information is difficult to follow.
Making It Too Complicated
A project doesn’t have to contain dozens of decorations to be impressive. Choose one main idea and build the project around it.
If there are too many colors, shapes, stickers, and drawings, the actual family tree can get lost.
Forgetting Family Relationships
Make sure people can tell who is related to whom.
Names without relationship labels can make the project difficult to understand. Add simple labels such as mother, father, grandmother, grandfather, brother, sister, aunt, or uncle where appropriate.
Using Text That Is Too Small
Your teacher and classmates should be able to read the important information without standing right next to the poster.
Use larger writing for names and slightly smaller writing for additional facts.
Adding Too Much Information
You don’t need to write someone’s entire life story.
A name, relationship, photograph, and one or two interesting facts are usually enough unless your teacher asks for more.
Sharing Private Information
A school project doesn’t need private details such as home addresses, phone numbers, or other information that your family would prefer not to share.
Keep the information focused on the assignment.
FAQ
How far back should a school family tree project go?
Many school assignments ask students to include three generations: themselves, their parents, and their grandparents. Some teachers may ask for four generations or additional relatives.
Always check the assignment instructions before starting so you know exactly who needs to be included.
What if I don’t have photographs of every family member?
That’s not a problem.
You can use drawings, initials, symbols, or decorated name cards instead. A project can still look complete even if some people have photographs and others do not.
What materials do I need for a family tree project?
Most projects can be made with basic craft supplies such as poster board, colored paper, markers, scissors, glue, string, and printed photographs.
Some designs may need extra materials, such as cardboard boxes, corkboard, wire hangers, craft sticks, or a glass jar.
Can I make a family tree project on a computer?
Yes, if your teacher allows digital projects.
You can create a slideshow, digital poster, or presentation using tools such as Canva or Google Slides. You can also print the finished design if a physical project is required.
How do I make a family tree for a blended or adopted family?
A family tree can include the people who are important members of a child’s family, including biological, adoptive, step-family, and other meaningful relationships.
If the teacher has specific requirements, ask how they would like those relationships shown before starting the project.
What age group is best for a handprint family tree?
Handprint and footprint projects are particularly suitable for preschool and early primary school children, generally around ages 3 to 7.
Older students may enjoy projects involving photographs, maps, timelines, family history, or digital presentations.
What is the easiest family tree project for kids?
A paper-leaf tree is one of the easiest options. All you really need is poster board, colored paper, scissors, glue, and markers.
For very young children, a handprint tree is another simple option because the child can help create the artwork.
Can I make a family tree without a tree shape?
Absolutely.
A family tree can be designed as a house, puzzle, timeline, map, quilt, mobile, book, or digital presentation.
The important part is showing the relationships between family members clearly. The design is completely up to you.